tl;dr; As Linux user, do yourself a favor and consider the Samsung C480W printer.
Update: When scanning after Ubuntu upgrade does not work
I wanted to get rid of my old HP PSC 1215 All-in-One Printer.

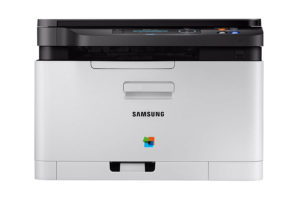
It served me well over all these years, both with Windows and Ubuntu Linux. But, getting tired of replacing empty or clogged ink cartridges all too often I considered buying a laser printer. I chose the Samsung Xpress C480W A4 Color Laser Printer.
Installing a printer on Linux – a nightmare. Or is it?
Not with this one, I can say. The “Easy printer installation” does not promise too much. Here’s what it took me:
- Attach the printer to the mains and the local LAN. Switch it on.
- Download the appropriate driver package from the Samsung setup page with the Linux box. The website presents the Linux driver package (probably guessed from the User Agent string) right away.
- Extract the package.
- Run sudo ./install.sh
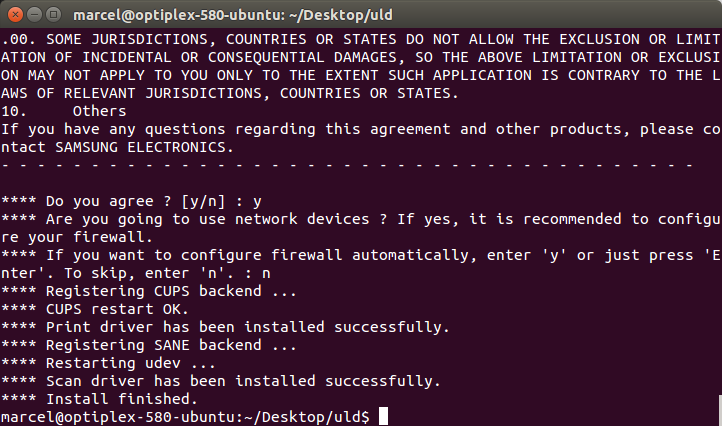
- Accept the EULA (This is the most inconvenient part. Use the SPACE bar to scroll page by page.)
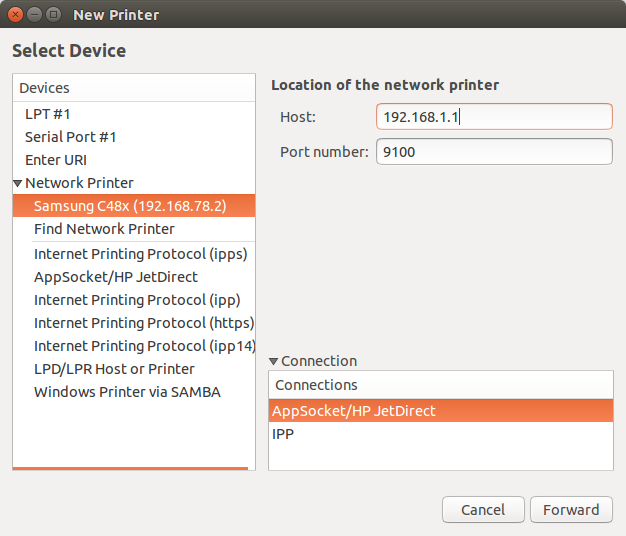
- Install the printer using the Ubuntu printer Dialog. It will automatically get recognized on the network.
Done. Feel the relief and joy of printing and scanning using your favorite OS.
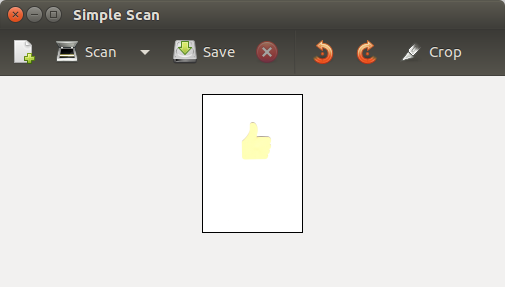
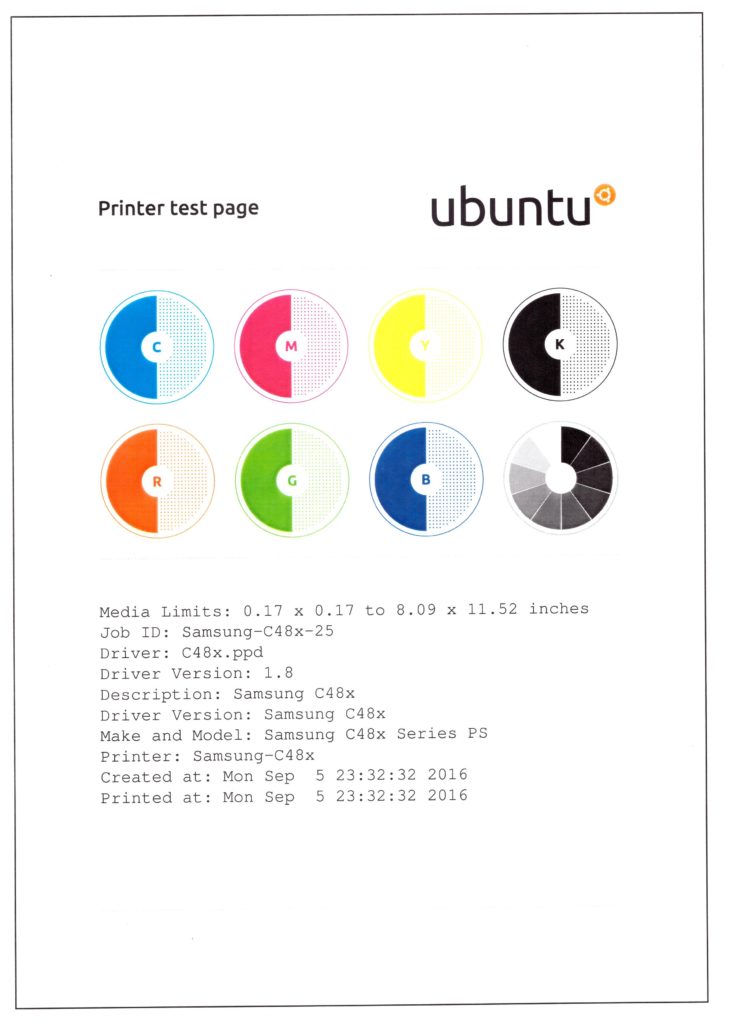
Here’s how my first test page looks – scanned with the same printer again. 🙂
Update: When scanning after Ubuntu upgrade does not work
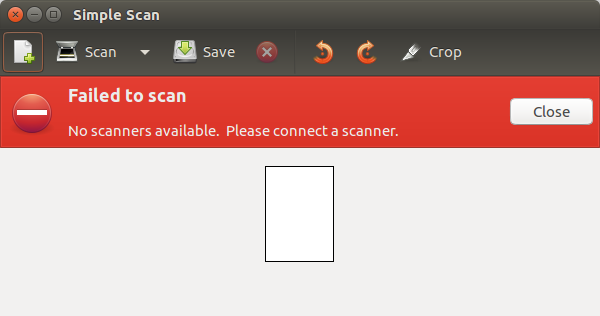
After upgrading Ubuntu from 14.04 (LTS) to 16.04 (LTS) and 18.04.1 (LTS) the scanner portion of the Samsung C480W did not work anymore. I got “Failed to scan” all the time from my beloved SimpleScan application.
Apparently some configurations did not make it through the Ubuntu upgrade.
For Ubuntu 16.04, my solution was to simply uninstall and reinstall the driver using the official driver package mentioned above:
sudo ./unistall.sh
sudo ./install.sh
For Ubuntu 18.04.1, and Ubuntu 20.04.1, it required to create a symlink to libsane-smfp.so.1 (wiki.ubuntuusers.de has more details). With the link, the libsane-smfp is made known to SANE. SANE itself should already be present, which is ensured by the the installer package.
In the Terminal:
sudo ln -s /usr/lib/sane/libsane-smfp.so.1 /usr/lib/x86_64-linux-gnu/sane/libsane-smfp.so.1
For me, also the installation of some USB library was necessary, according to the same source above, even when used over the network:
sudo apt install libusb-0.1-4
Voilà – SimpleScan found my scanner again: