Many have covered this (at least partially), but here’s my ultimate, minimal, quick guide to all the necessary parts, using a Linux box.
Use the given commands in a Linux bash terminal.
Get the image
Download the latest Raspbian image. (Choose the “with desktop and recommended software” version, when e.g. you need the IDLE Python IDE. VNC is included in all versions)
In the terminal (with optional, manual hash comparison):
# get the latest full image
wget --output-document=raspbian_full_latest.zip
https://downloads.raspberrypi.org/raspbian_full_latest
# optionally check the sha256 hash
sha256sum raspbian_full_latest.zip
Burn
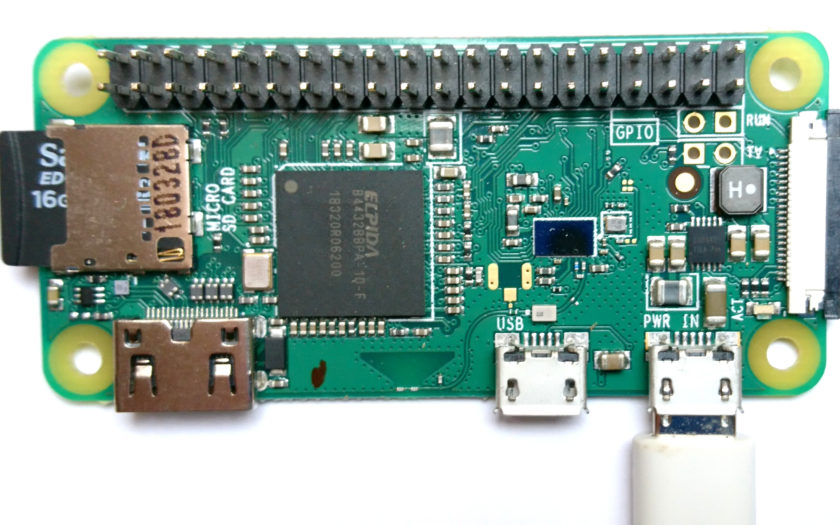
Burn the image from the ZIP to the SD Card. Use the lsblk command to find out the device name.
In the terminal (assuming dev/sdb is the device name)
# get the device name
lsblk
# unzip and write, use proper device name for output
unzip -p raspbian_full_latest.zip | sudo dd of=/dev/sdb status=progress conv=fsync
# flush the write cache
sync
Reference: For Linux specifically, here’s the full guide for writing the image to the SD card.
ssh
Enable ssh by placing an empty file named ssh (without extension or dot) in the boot folder of the boot partition.
In the terminal
# change to the boot partition
cd /media/$USER/boot

# ssh marker file
touch ssh
Wifi
Pre-configure your Wifi by placing a file named wpa_supplicant.conf in the root folder of the root partition, with the following content (Replace country and placeholders as needed)
country=CH
ctrl_interface=DIR=/var/run/wpa_supplicant GROUP=netdev
update_config=1

network={
   ssid="NETWORK-NAME"
   psk="NETWORK-PASSWORD"
}
In the terminal
# wifi config file (Adapt country and placeholders)
touch wpa_supplicant.conf
echo 'country=CH
ctrl_interface=DIR=/var/run/wpa_supplicant GROUP=netdev
update_config=1

network={
   ssid="NETWORK-NAME"
   psk="NETWORK-PASSWORD"
}' > wpa_supplicant.conf
# flush the write cache
sync
Startup…
Now insert the SD card into you Raspberry Pi and connect power.
# see if it's there...  (use your name or ip)
ping raspberrypi-zero-wh
# ssh into the raspberry
ssh pi@raspberrypi-zero-wh
Housekeeping
On the Raspberry Pi, do a proper setup:
# change the password
passwd
# type your old and new password
# do housekeeping
sudo apt-get update
sudo apt-get dist-upgrade
sudo apt-get clean
Enabling the remote VNC server
There are 3 Ways to Run a Remote Desktop on Raspberry Pi, but I like the to do it with RealVNC.
If you chose to burn the “with desktop and recommended software” version of the image, everything on the Raspberry Pi should already be in place to run the VNC server. Otherwise, follow the VNC Guide in the official documentation to enable the VNC server.
To run the VNC server, in an ssh session to the Raspberry Pi:
vncserver :1
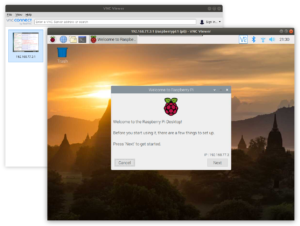
This should print a message like New desktop is raspberrypi:1 (192.168.77.3:1)
Connecting
On your client device, download the VNC viewer, then connect using the IP address and Desktop id.
Go to File/New Connection, then use e.g. 192.168.77.3:1